
The intake process is one of the most critical parts of using Strive DB—and thankfully, it’s designed to be both thorough and intuitive. Whether you’re helping a new survivor or opening a new case for someone already in the system, Strive walks you through every step.
This post breaks down exactly how to complete an intake
🧭 Starting a New Intake
There are two main ways to begin a new intake:
- From the People tab: click Start Intake next to an individual.
- From the Cases table in the Advocacy tab: click Start Intake to begin from scratch.

👥 New Client or Existing?
The very first step is deciding:
Is this for someone new, or for an existing client with a new case?
If you’re not sure, start typing their name. If they show up—great! You can associate the intake with their record. If not (e.g. no match for “Susan”), go ahead and create a new client profile.
💡 This keeps your data clean and avoids duplicates.
📝 Logging Intake & Incident Details
Next, you’ll enter the intake details and information about the incident. The form is comprehensive, but it’s all laid out clearly.
You’ll be asked to fill out:
- Who did the intake – The primary advocate, and you can add as many secondary advocates as you want
- Intake date, time, and location
- Incident timing – when the incident happened, when the outcry occurred, who it was made to, and whether the date is estimated
- Assault details – type of assault (e.g., domestic violence), presence of weapons, injuries
- Assault location – the general location type and ZIP code (auto-fills city/county/state)
- Client circumstances at the time
- Martial Status
- Pregnancy
- Living Arrangement
- etc
- Police report details (if applicable)
- You can also add police officers
- Sequence of events as told by the client

✅ These fields ensure everything from funder requirements to legal documentation is captured in one pass.
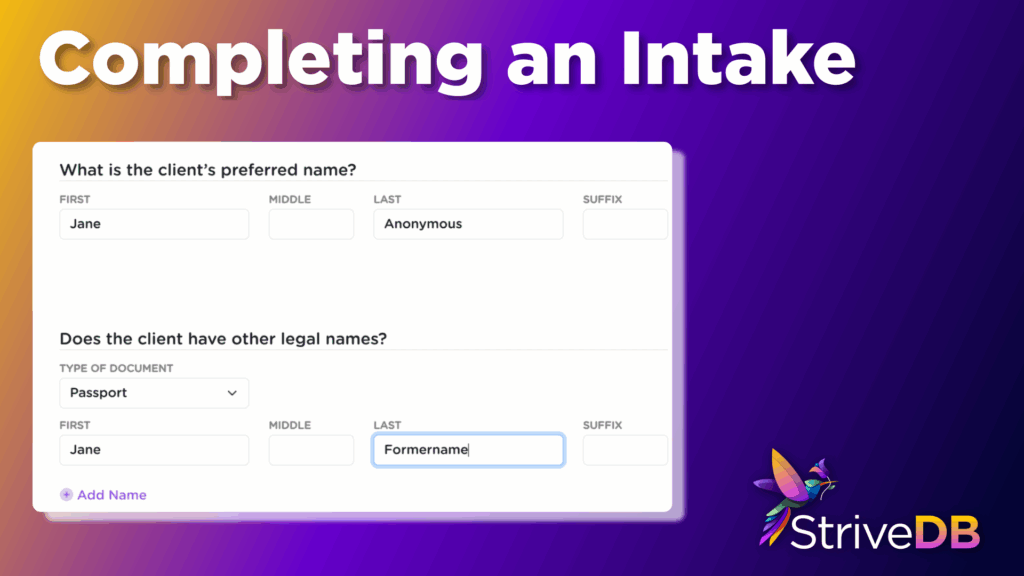
👤 Adding the Survivor / Client
If you didn’t connect this intake to an existing client earlier, now’s the time to create their profile. You’ll be prompted to enter:
- Full name, along with any other legal names
- Birth date (automatically calculates age)
- Gender, race, ethnicity, and tribal affiliations
- Barriers the client may be facing (e.g., substance use, housing insecurity)
- Incarceration status at the time of intake
- Addresses – multiple can be added, and ZIP code lookups will autofill city, county, and state
- Phone numbers – you can add multiple; each one includes a “safe to contact” checkbox 🔒
- Email addresses – also support multiple entries, each with a “safe to contact” setting 🔒
- Referral details and general notes
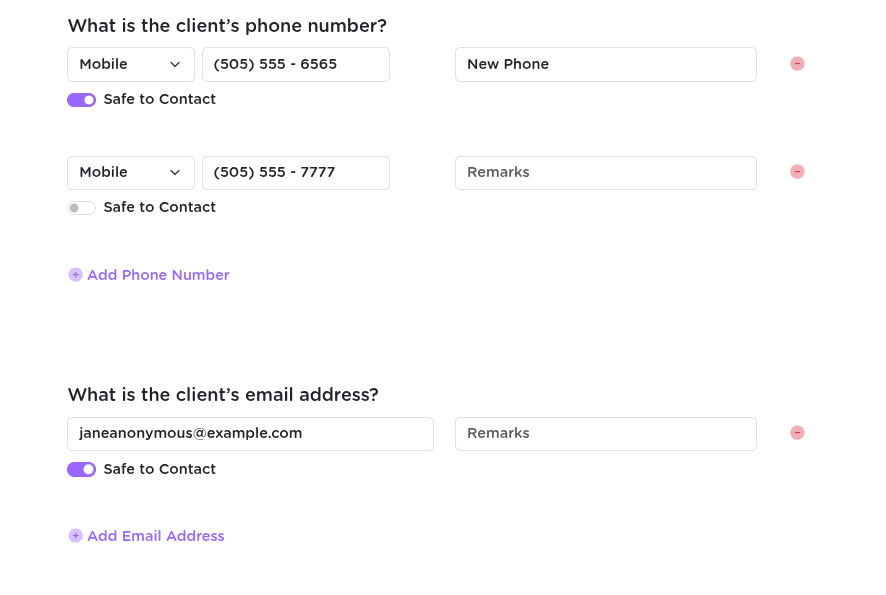
🔒 The “safe to contact” setting helps ensure client privacy. If a number or email is not marked safe, it will marked that way and require extra steps to access
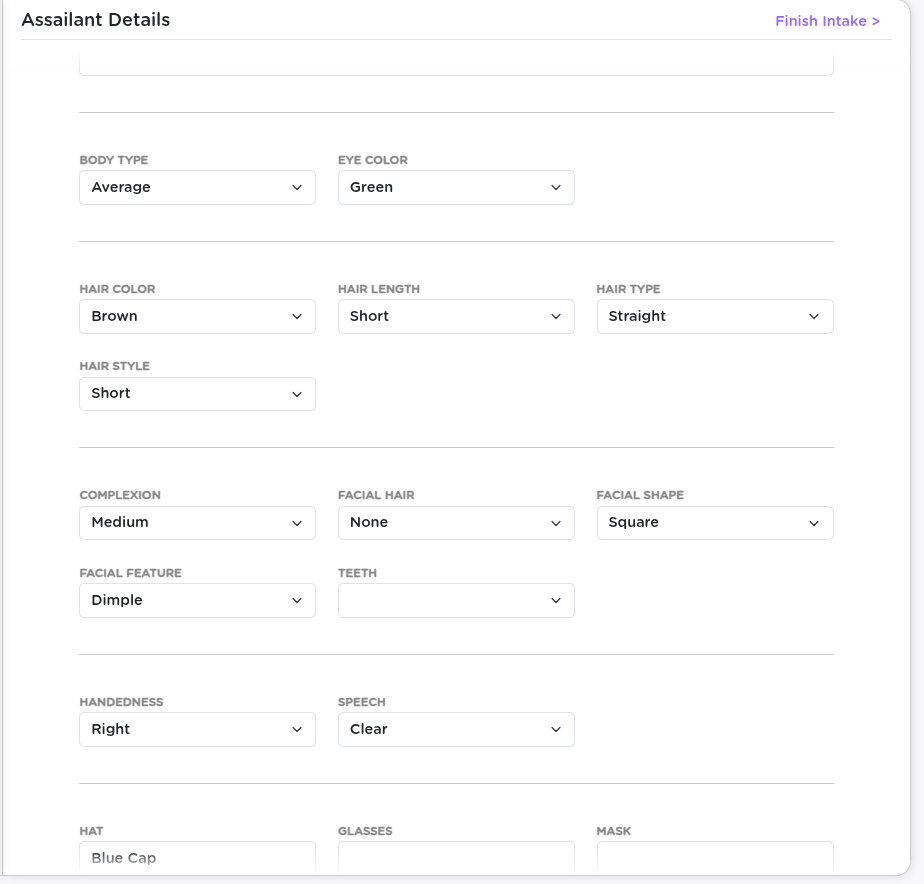
🔎 Adding the Assailant (Perpetrator)
Next up: documenting the asalant.
- First, specify the relationship between the survivor and the assailant (e.g., “acquaintance”).
- Search for the assailant to avoid duplicates. If they’re not found, you can create a new assailant record.
For new entries, you’ll input:
- Name and birth date (or approximate age, which auto-generates a birth year)
- Physical details – height, age range, tattoos, hair, clothes
- Vehicle info – license plate, model, etc.
🧠 The more you can fill in here, the stronger your records (and reports) will be later.
✅ Completing the Intake
Once you’ve filled out everything about the survivor and the asalant, hit Next—this wraps up the intake and officially creates the record.
You’ll land on the new intake’s detail page, where you can continue working.
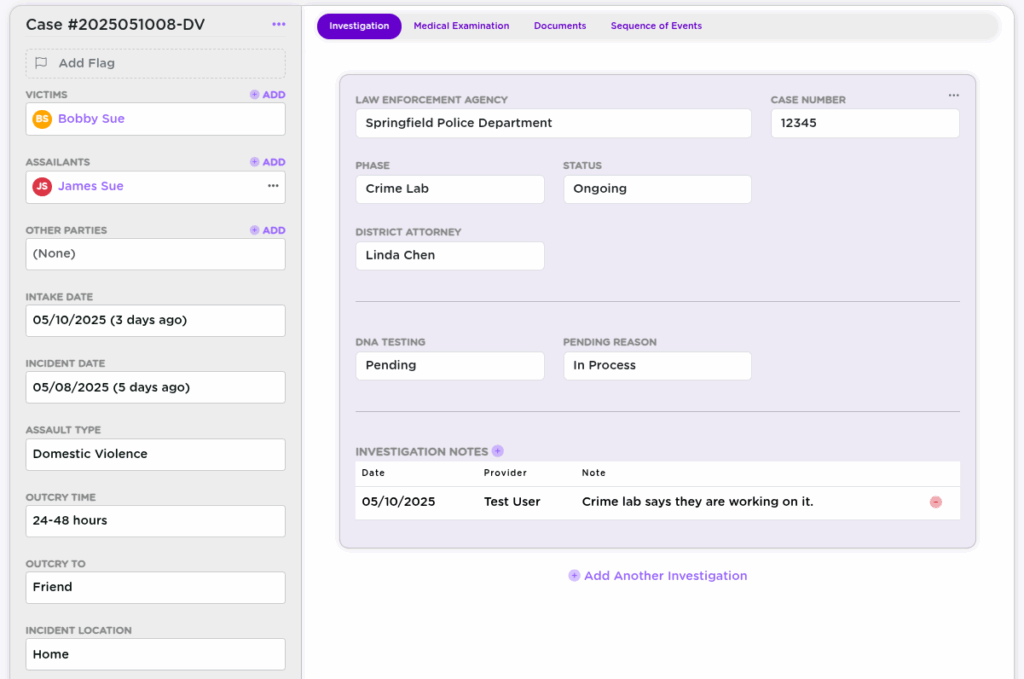
📎 After the Intake: What’s Next?
From the intake page, you can now:
- Add related Investigations
- Upload Medical Exams
- Attach Documents
- Add more assailants or secondary victims
- Go back and edit anything you previously entered
🔄 Nothing is locked—you can always update, expand, or correct the info later.
🧠 Final Thoughts
The Strive DB intake process is built to handle real-world complexity while guiding you through it step-by-step. It ensures you capture everything you need while keeping client safety and data clarity front and center.
💬 Have questions about any field or how something flows? Reach out to support—we’re happy to walk through it with you.