
Appointments in Strive DB aren’t just calendar events—they’re the backbone of scheduling, documenting services, and staying compliant with your organization’s workflow. Whether it’s a counseling session, advocacy check-in, or group meeting, the appointment system helps you handle it quickly and cleanly.
This post walks through how to create, manage, and follow up on appointments, based on the training video.
🧭 Accessing the Appointment Scheduler
There are two main ways to schedule a new appointment in Strive DB:
- From the top convenience bar, click “Schedule” — available from anywhere in the system
- From a client’s profile, click “Schedule Appointment” to auto-fill that client into the form
💡 Starting from a client’s profile saves time and avoids duplicate searching.
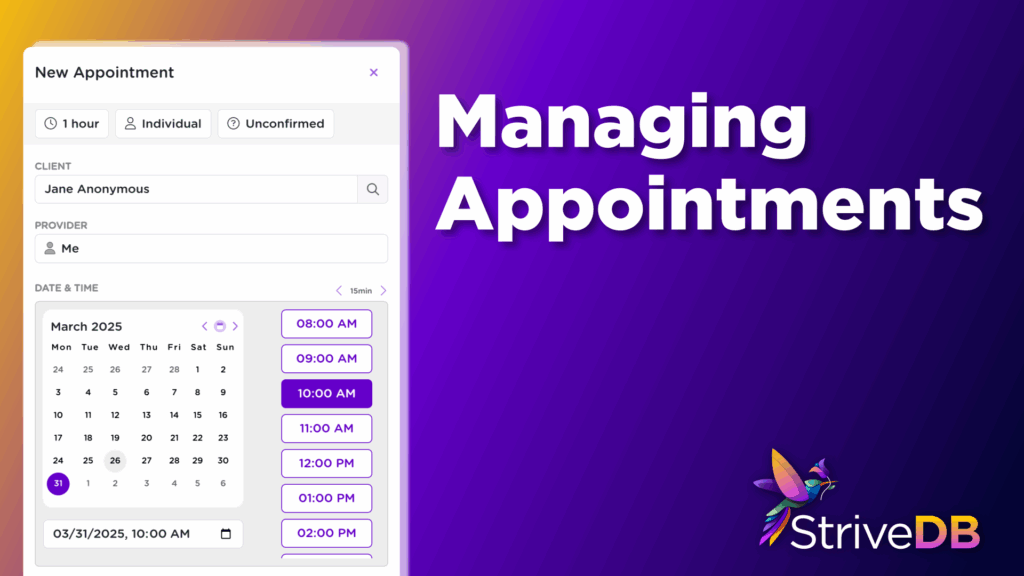
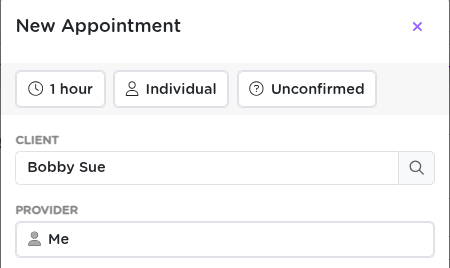
📝 Setting Appointment Details
At the top of the appointment form, you’ll configure the key details:
- Duration – Choose how long the session will be
- Type – Individual or group appointment
- Status – Tentative, confirmed, cancelled, etc.
- Provider – Defaults to you, but can be reassigned to another staff member
✅ Keeping appointment statuses updated helps other team members know what’s coming up.
📆 Selecting a Date and Time
Use the built-in calendar widget to find available times. It shows:
- Which days have openings (based on your availability settings)
- Time slots on a selected day
- Real-time updates so you don’t accidentally double-book
Once you find the right slot, click it and continue.

📍 Adding Location & Notes
Next, include optional but helpful context:
- Location – e.g., “Zoom”, “Room 2”, or “Off-site”
- Note – Any notes you want visible to team members viewing the appointment
💾 Saving the Appointment
Once everything’s filled out, click Save.
You’ll be taken directly to the appointment’s detail page, where you can:
- Review or edit the info
- Add session notes
- Start follow-up tasks right away

🔁 Managing Appointments After Creation
Once the appointment has occurred—or not—you’ll want to log the outcome. From the appointment’s page, you can:
- Mark attendance status (e.g., Attended, Late, No-show)
- Add a Follow-Up Reminder
- Attach a Counseling Session, often using a session-specific form
- Edit/reschedule the appointment as needed
🧠 This workflow ensures your services are recorded accurately and quickly tie into reports and grant tracking.
🔍 Viewing Appointments
From the Appointments tab, you can:
- View daily or weekly schedules
- Filter by staff member, client, or service type
- Switch between list view and calendar view
- Jump to a date or scroll ahead for upcoming work

📎 Linking Appointments to Case Work
Appointments automatically connect to:
- Client profiles – full appointment history and documentation
- Staff/provider records
- Service logs – when tied to session forms
- Reporting – all outcomes and durations feed into organizational data
This means nothing gets lost and everything you log stays tied to the broader support picture.
🧠 Final Thoughts
Appointments in Strive DB aren’t just boxes on a calendar—they’re fully integrated records of service. They help you track what happened, stay on schedule, and document the critical work you’re doing.
💬 Need help setting up availability or figuring out provider scheduling? Reach out to support—we’ve got your back.