
Medical exams are a key part of helping survivors, and Strive DB makes it easy to attach them directly to a case. Whether you’re tracking SANE exams, follow-up visits, or hospitalization info, you can enter everything in one place, where it stays tied to the larger case record.
This post walks through how to log a medical exam step-by-step, based on the training video.
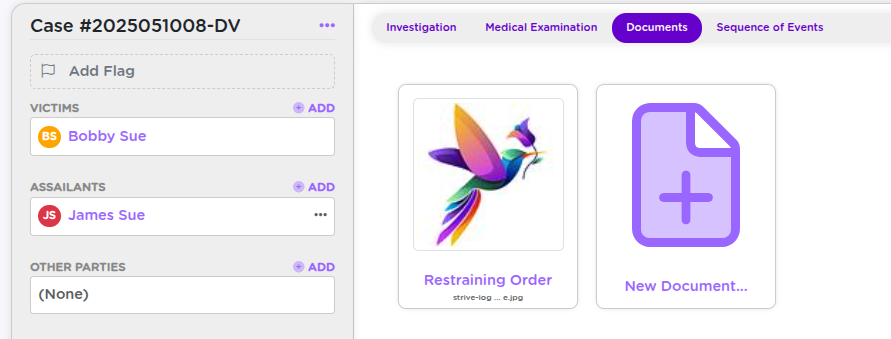
🧭 Step 1: Navigate to the Case
You’ll start by locating the case you want to update:
- Click Advocacy in the left-hand menu
- Open the Cases table
- Search for and select the relevant case
🔗 New to navigating the platform? Start with our system overview or intake guide to get familiar with case structure.
🧪 Step 2: Open the Medical Exams Tab
Once you’re inside the case, click the Medical Exam tab at the top. This section shows all exams currently associated with the case.
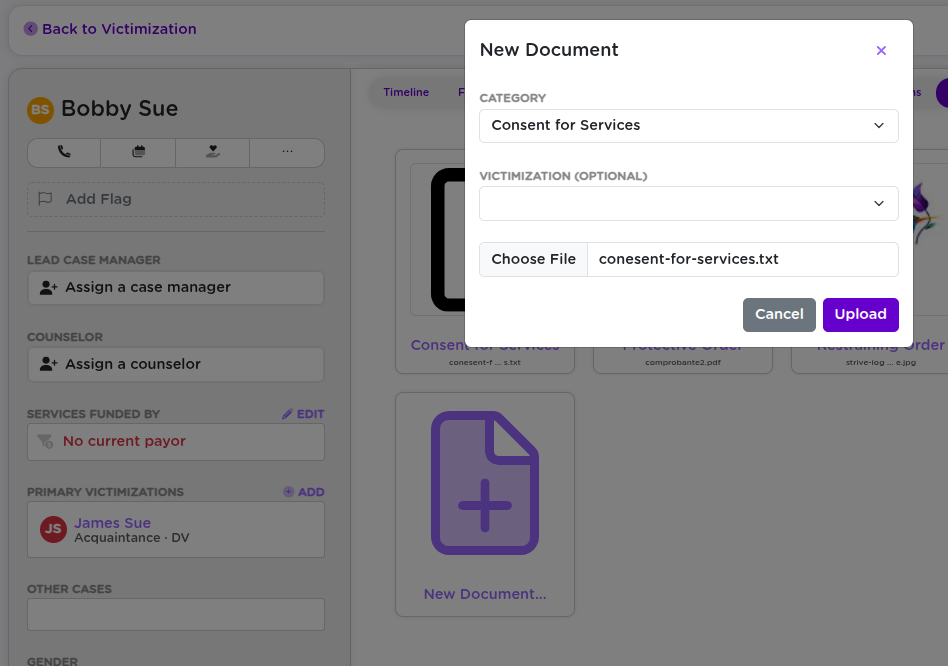
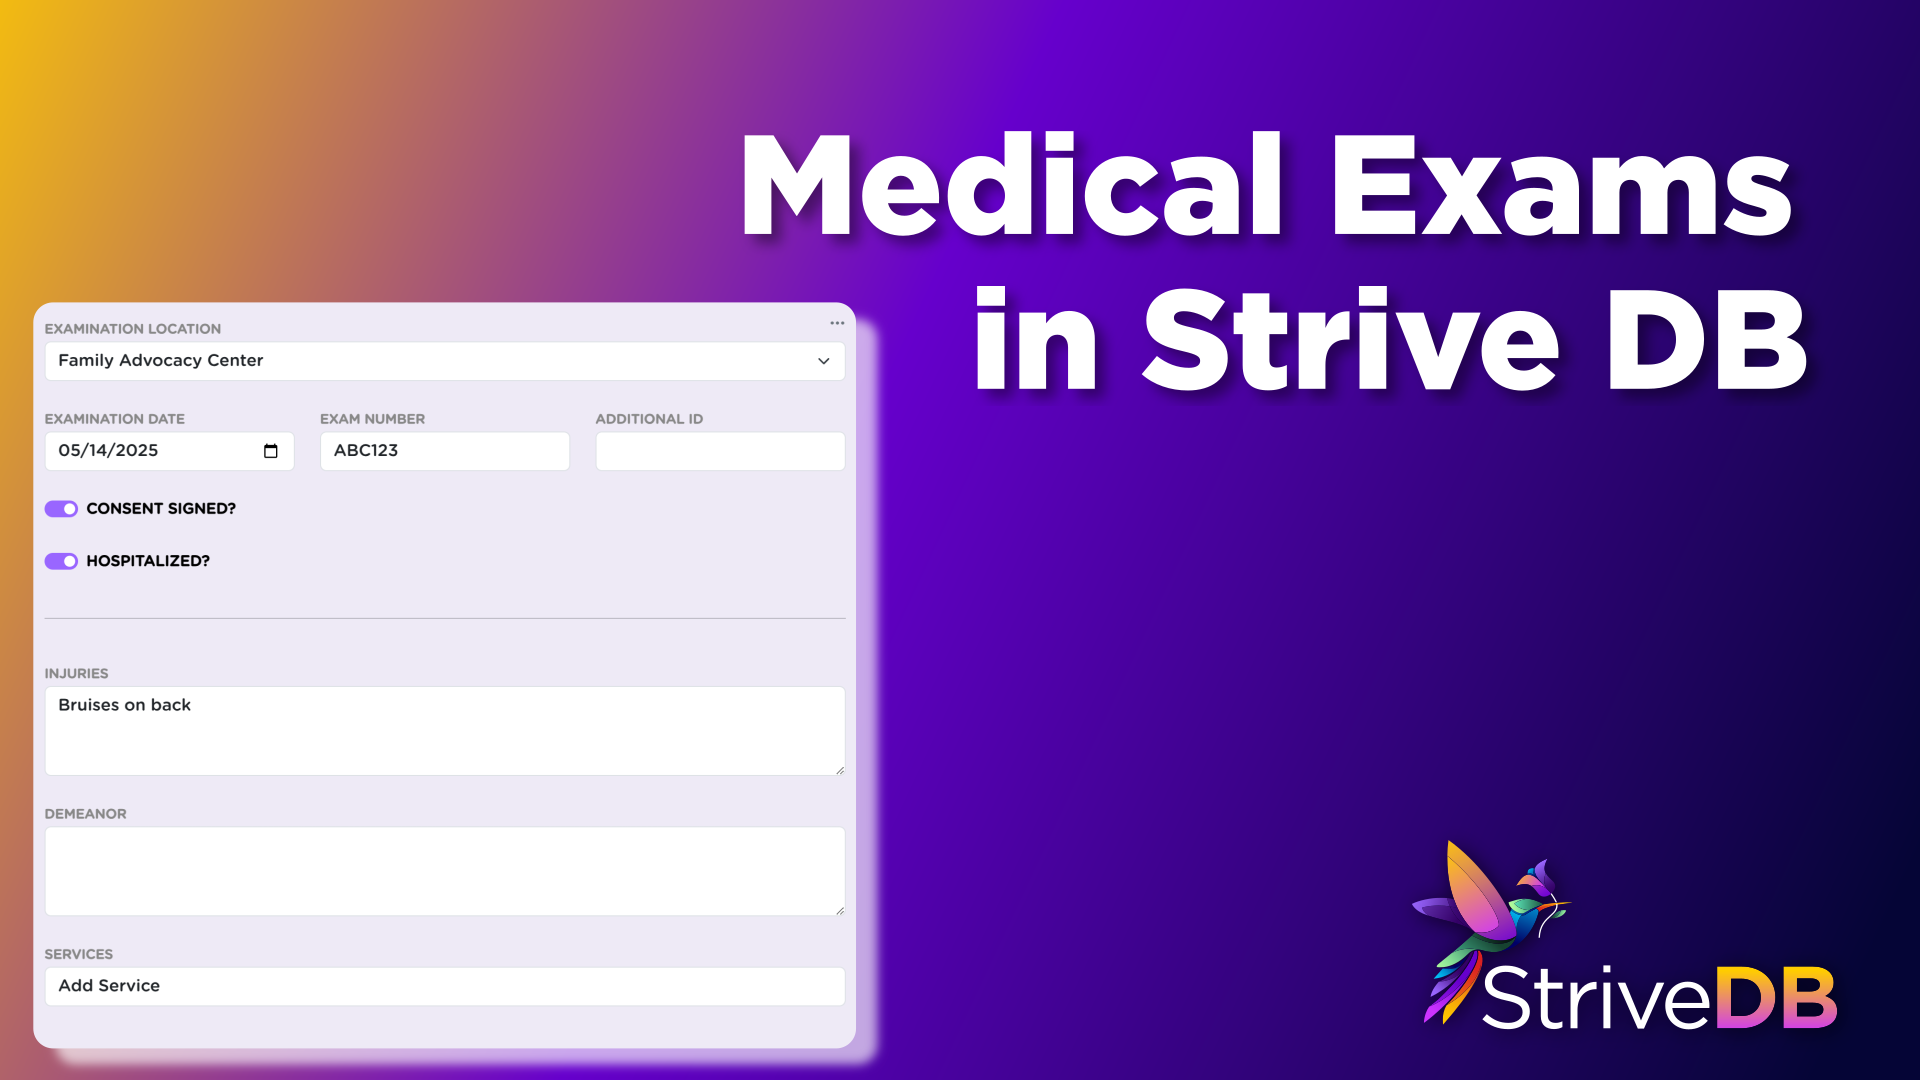
➕ Step 3: Add a Medical Exam
Click “Add a medical examination”. This brings up a form to log the key details.
Here’s what you can enter:
- Exam location (e.g., hospital, clinic)
- Date of the exam
- Exam number (if your agency uses tracking IDs)
- Additional ID (optional)
- Consent – was consent signed for the exam?
- Hospitalization – was the survivor hospitalized?
- Notes – injuries observed, demeanor, other context
- Related services provided as part of the visit
- Nurses involved in the care

💾 Step 4: Save the Exam
Once the form is complete, click Save to finalize the entry. The new exam will now appear in the list on the Medical Exam tab, attached to the case.
🧑⚕️ Step 5: Add SANE Nurse(s)
As part of logging the medical exam, you can also associate one or more nurses who were present for or performed the exam—especially helpful for SANE documentation.
- Select nurse(s) from the dropdown list. This pulls from staff records already in your system.
- If you don’t see the right person, reach out to an admin to have them added as a user with the appropriate role.
This information helps maintain an accurate record of who provided care, and ensures that the nurse’s involvement is connected to the case and service records for auditing and follow-up.
🩺 You can associate multiple nurses if more than one provider participated in the exam.
🛠 Step 6: Manage Existing Exams
You can always return to this section to:
- Edit existing exams
- Delete a mistakenly added record
- Add another exam (if the client had multiple visits)
Just use the dropdown menu next to each record to make changes.
🧠 Keeping this section current helps ensure medical details are available for documentation, follow-up services, and case-level documents.
🧠 Final Thoughts
Strive DB helps you log medical care securely and thoroughly, Whether you’re entering your first SANE exam or updating a long-term support case, the medical exam tab is where that record belongs.
💬 Need help mapping your agency’s medical workflow into Strive DB? Reach out to support—we’ll help you get it right.